Been a while since my last post. Life has a way of doing that, so to begin my catch-up, I'll start with some photos of the current IPMS Review build of Wingnut Wings' FE.2b Early kit. As with all of the Wingnuts Wings kits I have built (Junkers, SE5a, Sopwith Pup) it is quality combined with detail and well thought out engineering for easier building. I've always been intrigued by the "lattice tails", as some of the German pilots called them, and the chance to build this one in 1/32 scale, and from Wingnuts Wings to boot, came along and I grabbed it.
As you'll see, the big elephant in the room for these kinds of kits is
rigging. I had my method worked out previously, but was seduced by Wingnut Wings recommendation to use EZ Line. Now, this stuff is good. Stretchy and glues pretty well with CA, but it isn't easy to work with, at least not for me. It is stretchy, which is good in that it doesn't sag, and it is really hard to break. Not so with monofilament. But, it is 'floppy' and difficult to handle and the end tends to curl up when you dip it into a puddle of CA preparatory to attaching it to an anchor point.
However, I embarked on rigging the FE with the heavier size of EZ Line, since it's a big airplane and a big kit and I think the smaller size of EZ Line looks out of scale. So, on with the photos of the build to date.
 |
| Beardmore Engine |
 |
| Beginning oil stains. |
 |
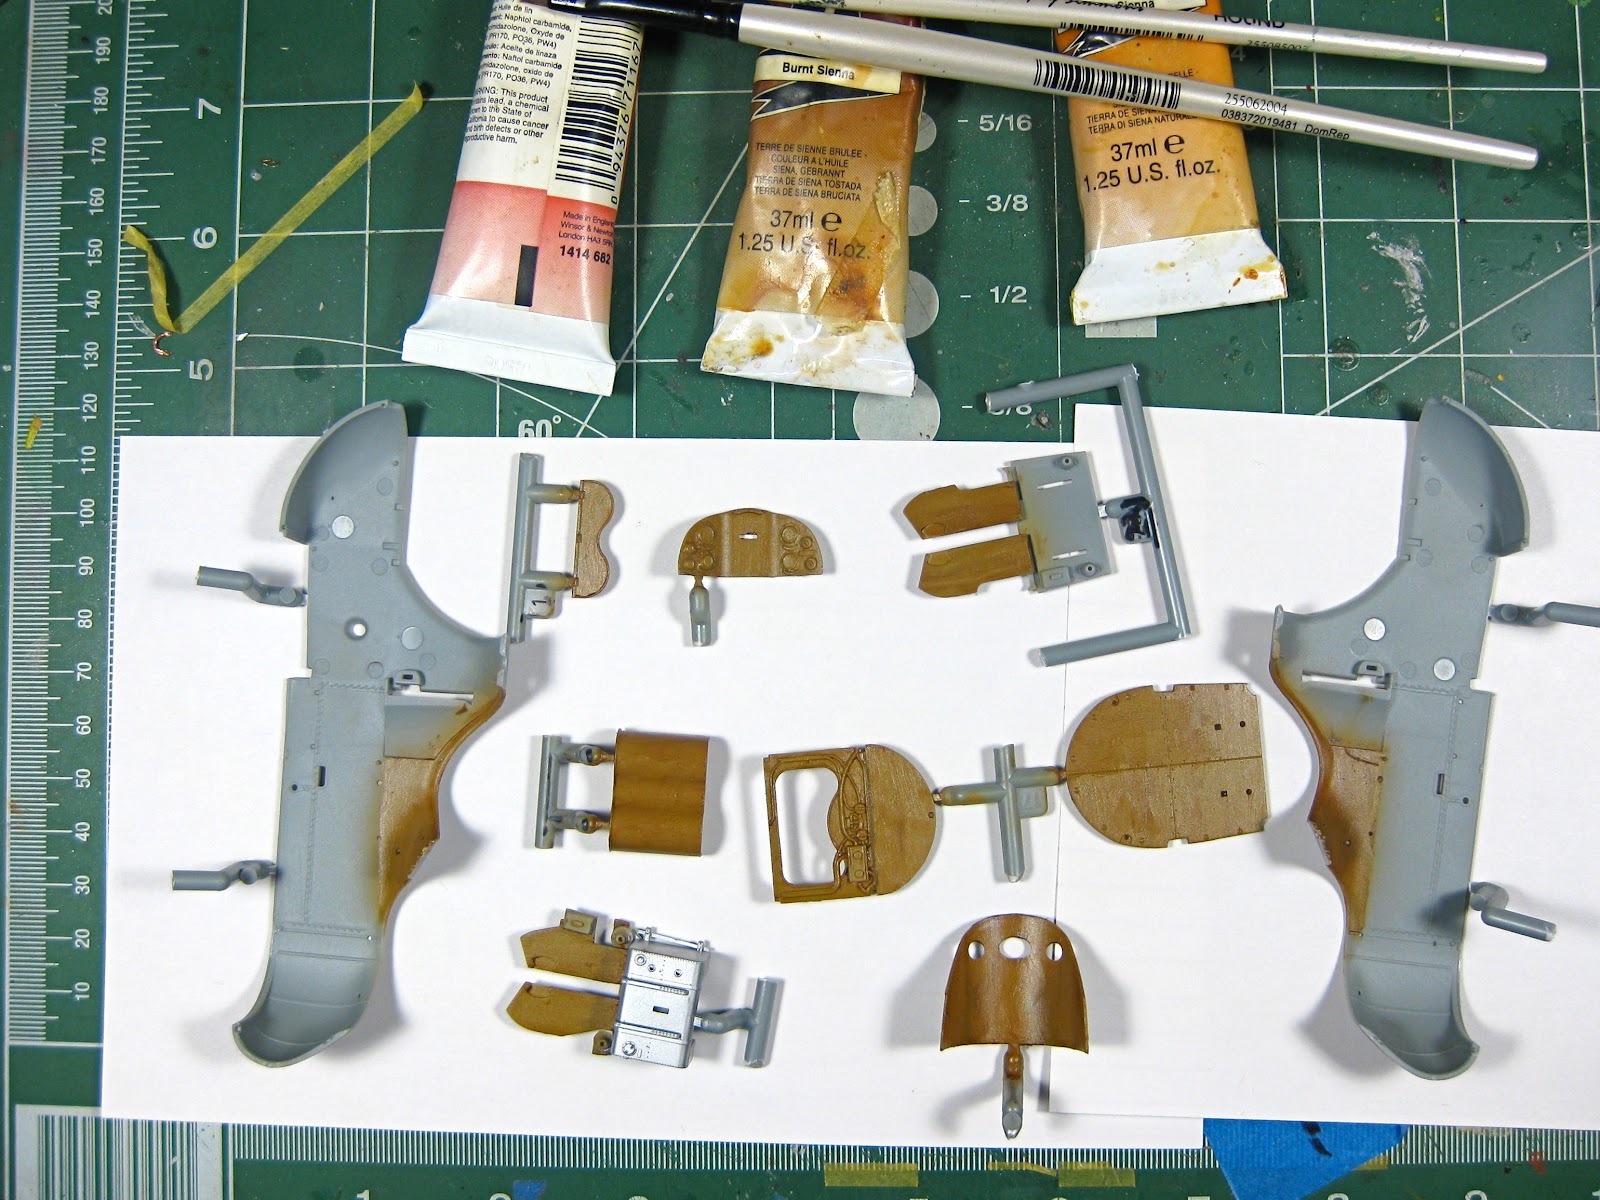
| Wood done with undercoat of Tamiya Buff, covered with Future for protection, then yellow ochre and burn sienna oils. After a day, remove oil paint with a stiff chisel brush to leave 'wood grain' behind. Cover with Tamiya clear orange. |
Photos of the interior of the cockpit, observer/gunner's compartment and engine preparatory to mounting in the nacelle.
 |
| Completed cockpit. Same wood technique as before. Notice how well everything fits together. |
 |
| Good look at the interior rigging. EZ Line, small diameter. |
 |
| The gunner, observer and radio compartment. There is evidence of early wireless sets in these aircraft. Wingnut Wings has thoughtfully included provision for a battery and telegraph key. |
 |
| The Instrument panel is fantastic. |
The Nacelle and wings.
Wings and Rigging
These last series of photos were taken at the workbench with my new iPhone 4s, which makes some pretty good photos.
 |
| Bottom of top wing with EZ Line installed. |
 |
| A mistake. Don't do this. the lower wings needs dihedral in order to properly mate with the top wing. |
 |
| I had to remove the lower wing an re-glue it without taping it down. It will assume a good dihedral on its own. Wingnut Wings engineering at work. Don't try to second guess the instructions! |
 |
| With the lower wing on properly, and the struts in place. They pretty much assumed the attitudes you see above, the fit is so precise and well engineered. |
 |
| Wingnuts Wings method of ensuring proper wing alignment. Works too! |
 |
| Once alignment had been established with the box-top method, I applied weight with the tubs of Magic Sculpt to keep everything together until the glue had set. |
At the current point in the proceedings, the wing rigging is completely done and the tail boom has been assembled and ready for painting to look like wood. More photos to follow shortly.